A container registry is a storage catalog from where you can push and pull container images.
There are many public and private registries available to developers such as Docker Hub, Amazon ECR, and Google Cloud Artifact Registry. But sometimes, instead of relying on an external vendor, you might want to host your images yourself. This gives you more control over how the registry is configured and where the container images are hosted.
This article is a hands-on tutorial that’ll teach you how to self-host a Container Registry.
Table of Contents
What is a Container Image?
What is a Container Registry?
Why you might want to self-host a Container Registry
How to self-host a Container Registry
Step 1: Install Docker and Docker Compose on the server
Step 2: Configure and run the registry container
Step 3: Run NGINX for handling TLS
Ready to go!
Other options
Conclusion
You will get the most out of this article if you’re already familiar with the tools like Docker and NGINX, and have a general understanding of what a container is.
What is a Container Image?
Before we talk about container registries, let's first understand what a container image is. In a nutshell, a container image is a package that includes all of the files, libraries, and configurations to run a container. They are composed of layers where each layer represents a set of file system changes that add, remove, or modify files.
The most common way to create a container image is to use a Dockerfile.
# build an image
docker build -t pliutau/hello-world:v0 .
# check the images locally
docker images
# REPOSITORY    TAG       IMAGE ID       CREATED          SIZE
# hello-world   latest    9facd12bbcdd   22 seconds ago   11MB
This creates a container image that is stored on your local machine. But what if you want to share this image with others or use it on a different machine? This is where container registries come in.
What is a Container Registry?
A container registry is a storage catalog where you can push and pull container images from. The images are grouped into repositories, which are collections of related images with the same name. For example, on Docker Hub registry, nginx is the name of the repository that contains different versions of the NGINX images.
Some registries are public, meaning that the images hosted on them are accessible to anyone on the Internet. Public registries such as Docker Hub are a good option to host open-source projects.
On the other hand, private registries provide a way to incorporate security and privacy into enterprise container image storage, either hosted in cloud or on-premises. These private registries often come with advanced security features and technical support.
There is a growing list of private registries available such as Amazon ECR, GCP Artifact Registry, GitHub Container Registry, and Docker Hub also offers a private repository feature.
As a developer, you interact with a container registry when using the docker push and docker pull commands.
docker push docker.io/pliutau/hello-world:v0
# In case of Docker Hub we could also skip the registry part
docker push pliutau/hello-world:v0
Let's look at the anatomy of a container image URL:
docker pull docker.io/pliutau/hello-world:v0@sha256:dc11b2...
                |            |            |          |
                ↓            ↓            ↓          ↓
             registry    repository      tag       digest
Why You Might Want to Self-host a Container Registry
Sometimes, instead of relying on a provider like AWS or GCP, you might want to host your images yourself. This keeps your infrastructure internal and makes you less reliant on external vendors. In some heavily regulated industries, this is even a requirement.
A self-hosted registry runs on your own servers, giving you more control over how the registry is configured and where the container images are hosted. At the same time it comes with a cost of maintaining and securing the registry.
There are several open-source container registry solutions available. The most popular one is officially supported by Docker, called registry, with its implementation for storing and distributing of container images and artifacts. This means that you can run your own registry inside a container.
Here are the main steps to run a registry on a server:
Install Docker and Docker Compose on the server.
Configure and run the registry container.
Run NGINX for handling TLS and forwarding requests to the registry container.
Setup SSL certificates and configure a domain.
Step 1: Install Docker and Docker Compose on the server
You can use any server that supports Docker. For example, you can use a DigitalOcean Droplet with Ubuntu. For this demo I used Google Cloud Compute to create a VM with Ubuntu.
neofetch
# OS: Ubuntu 20.04.6 LTS x86_64
# CPU: Intel Xeon (2) @ 2.200GHz
# Memory: 3908MiB
Once we're inside our VM, we should install Docker and Docker Compose. Docker Compose is optional, but it makes it easier to manage multi-container applications.
# install docker engine and docker-compose
sudo snap install docker
# verify the installation
docker --version
docker-compose --version
Step 2: Configure and run the registry container
Next we need to configure our registry container. The following compose.yaml file will create a registry container with a volume for storing the images and a volume for storing the password file.
services:
  registry:
    image: registry:latest
    environment:
      REGISTRY_AUTH: htpasswd
      REGISTRY_AUTH_HTPASSWD_REALM: Registry Realm
      REGISTRY_AUTH_HTPASSWD_PATH: /auth/registry.password
      REGISTRY_STORAGE_FILESYSTEM_ROOTDIRECTORY: /data
    volumes:
      # Mount the password file
      - ./registry/registry.password:/auth/registry.password
      # Mount the data directory
      - ./registry/data:/data
    ports:
      - 5000
The password file defined in REGISTRY_AUTH_HTPASSWD_PATH is used to authenticate users when they push or pull images from the registry. We should create a password file using the htpasswd command. We should also create a folder for storing the images.
mkdir -p ./registry/data
# install htpasswd
sudo apt install apache2-utils
# create a password file. username: busy, password: bee
htpasswd -Bbn busy bee > ./registry/registry.password
Now we can start the registry container. If you see this message, than everything is working as it should:
docker-compose up
# successfull run should output something like this:
# registry | level=info msg="listening on [::]:5000"
Step 3: Run NGINX for handling TLS
As mentioned earlier, we can use NGINX to handle TLS and forward requests to the registry container.
The Docker Registry requires a valid trusted SSL certificate to work. You can use something like Let's Encrypt or obtain it manually. Make sure you have a domain name pointing to your server (registry.pliutau.com in my case). For this demo I already obtained the certificates using certbot and put it in the ./nginx/certs directory.
Since we're running our Docker Registry in a container, we can run NGINX in a container as well by adding the following service to the compose.yaml file:
services:
  registry:
    # ...
  nginx:
    image: nginx:latest
    depends_on:
      - registry
    volumes:
      # mount the nginx configuration
      - ./nginx/nginx.conf:/etc/nginx/nginx.conf
      # mount the certificates obtained from Let's Encrypt
      - ./nginx/certs:/etc/nginx/certs
    ports:
      - "443:443"
Our nginx.conf file could look like this:
worker_processes auto;
events {
    worker_connections 1024;
}
http {
    upstream registry {
        server registry:5000;
    }
    server {
        server_name registry.pliutau.com;
        listen 443 ssl;
        ssl_certificate /etc/nginx/certs/fullchain.pem;
        ssl_certificate_key /etc/nginx/certs/privkey.pem;
        location / {
            # important setting for large images
            client_max_body_size                1000m;
            proxy_pass                          http://registry;
            proxy_set_header  Host              $http_host;
            proxy_set_header  X-Real-IP         $remote_addr;
            proxy_set_header  X-Forwarded-For   $proxy_add_x_forwarded_for;
            proxy_set_header  X-Forwarded-Proto $scheme;
            proxy_read_timeout                  900;
        }
    }
}
Ready to go!
After these steps we can run our registry and Nginx containers.
docker-compose up
Now, on the client side, you can push and pull the images from your registry. But first we need to login to the registry.
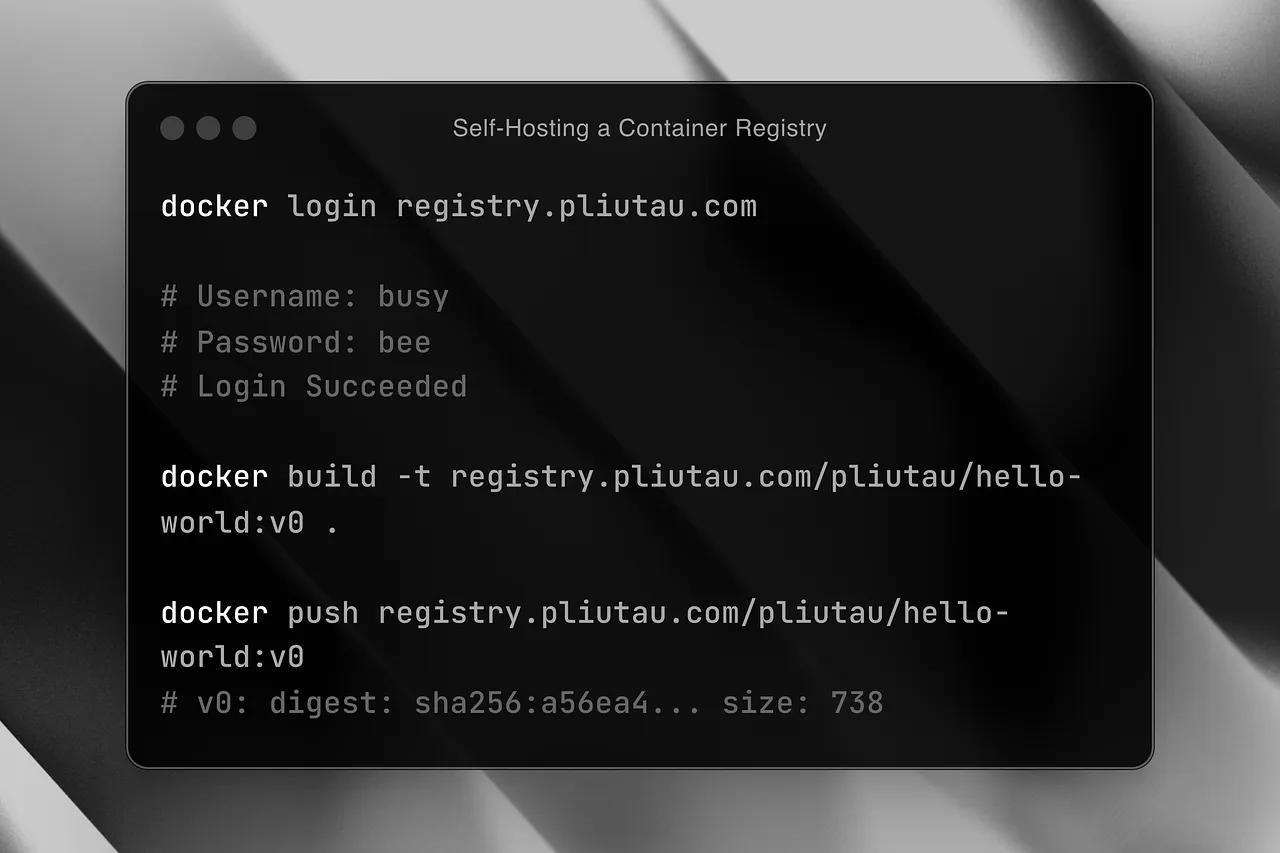
docker login registry.pliutau.com
# Username: busy
# Password: bee
# Login Succeeded
Time to build and push our image to our self-hosted registry:
docker build -t registry.pliutau.com/pliutau/hello-world:v0 .
docker push registry.pliutau.com/pliutau/hello-world:v0
# v0: digest: sha256:a56ea4... size: 738
On your server you can check the uploaded images in the data folder:
ls -la ./registry/data/docker/registry/v2/repositories/
Other options
Following the example above, you can also run the registry on Kubernetes. Or you could use a managed registry service like Harbor, which is an open-source registry that provides advanced security features and is compatible with Docker and Kubernetes.
Also, if you want to have a UI for your self-hosted registry, you could use a project like joxit/docker-registry-ui and run it in a separate container.
Conclusion
Self-hosted Container Registries allow you to have complete control over your registry and the way it's deployed. At the same time it comes with a cost of maintaining and securing the registry.
Whatever your reasons for running a self-hosted registry, you now know how it's done. From here you can compare the different options and choose the one that best fits your needs.
You can find the full source code for this demo on GitHub. Also, you can watch it as a video on our YouTube channel.