The native app development landscape has changed drastically in the past few years. Earlier, developers had to learn two completely different sets of development tools – Kotlin for Android app development and SwiftUI for iOS apps.
However, with the rise of cross-platforms like Flutter and React Native, it’s now possible to build an application once and deploy it on both platforms. This increases convenience without sacrificing performance as the apps can now render components into native UI elements, making them more performant while simplifying the developer experience.
But, there is another aspect of apps that separates the good from the great – their perceived speed, which stems from how fluidly a UI behaves in response to user input. Creating animations across different platforms has been a challenge in this regard. Another challenge is that there is a very high gap between the animations envisioned by designers and what finally gets developed, primarily because there is no standardized format that allows designers to create animations that can be seamlessly incorporated into an app. This is where LottieFiles comes into the picture.
LottieFiles offers a unified platform where designers can create animations in a visual interface and easily share them with developers. It also provides libraries for developers to render these animations in their apps, offering end-to-end support for seamless integration. In this article, we will look at the process of designing an animation using Lottie and integrating it into a React Native iOS app.
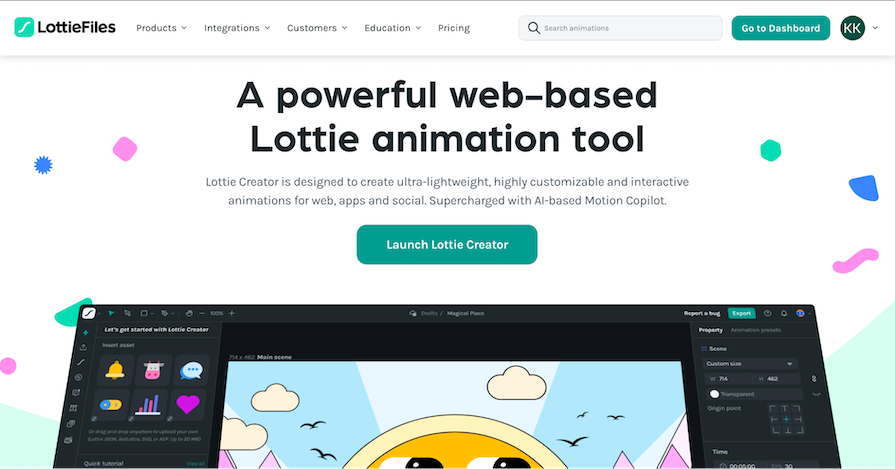
Introduction to LottieFiles
In the following sections, we’ll cover some of the key features of LottieFiles to know before getting hands-on with the tool and creating and integrating animations built with it.
There are three main parts to LottieFiles: the creator, which helps us design the animations, the export format that lets us share it, and the client library that lets us integrate it into our products:
Lottie Creator
The Lottie Creator is a visual editor interface that allows designers to create animations without writing a single line of code. The interface is very similar to those found in other applications, such as Adobe After Effects.
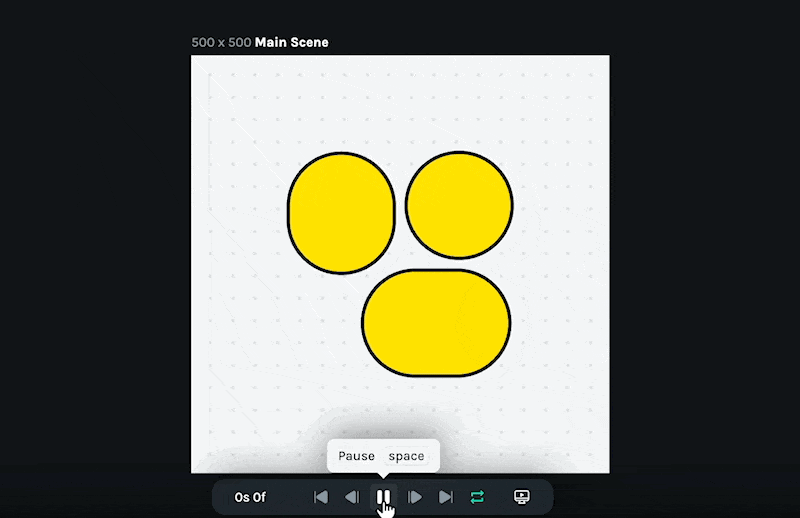
The creator provides the functionality to put the basic shapes and elements together while allowing the modification of their properties with keyframes. This is what the editor looks like:
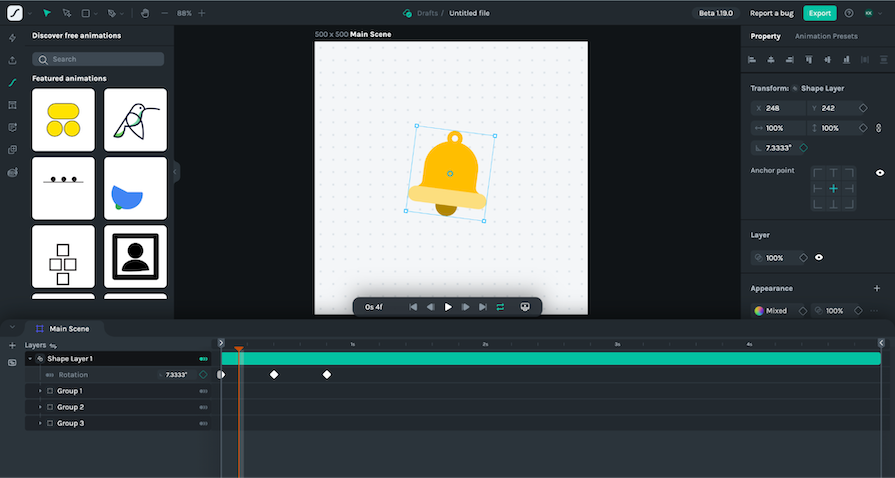
Even though the editor looks simple, it provides a ton of functionalities like importing pre-defined shapes, adding keyframes on different properties, and editing the timeline for the shapes separately. Once the animation is ready, the designer can export the animation in a JSON format or the dotLottie format.
The export format
The ability to create motion-design-based animations is not unique to LottieFiles. Similar animations can be created in any other software, such as Adobe After Effects or Blender.
However, the problem arises when we want to use these animations in our app. The animations created in After Effects are exported in a format that is not understood by the native app development frameworks.
This is where the LottieFiles JSON format comes into play. Once an animation is exported, it is saved in a JSON format or dotLottie format. LottieFiles also provides us with libraries that help us render these animations in our app. That way, we can simply import that library into our respective codebase and supply the exported JSON file.
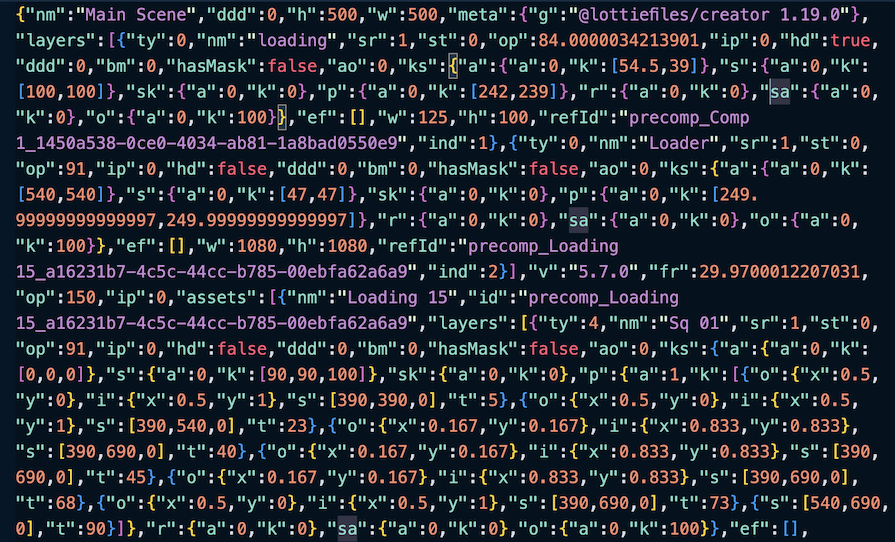
The JSON format
When we export an animation in JSON format and open it in a text editor, we can see that it is a standard JSON object with many properties. These properties define the shapes as well as their motion, as specified in the editor. Here’s a screenshot of what a section of the exported file looks like:
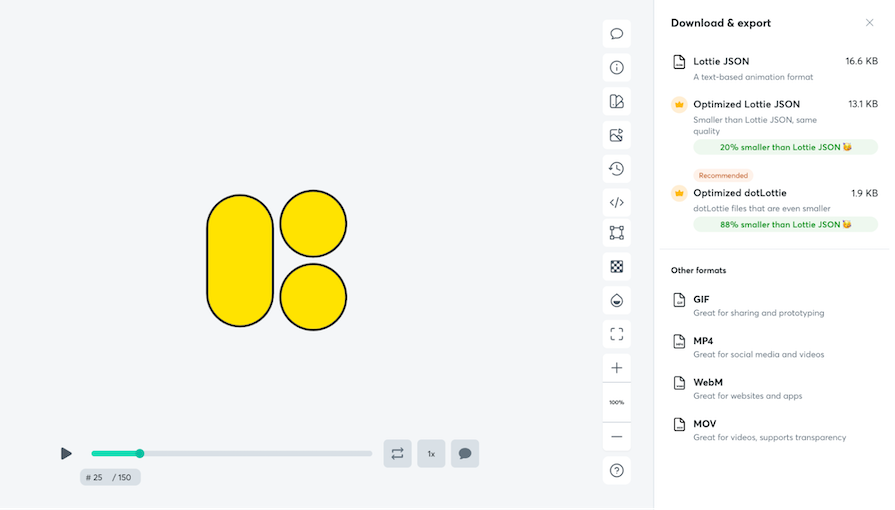
There is also an option to download an optimized JSON file that provides the same quality of animation for premium Lottie users.
The dotLottie format
The dotLottie format is a newer, more optimized format that can be used to export the animations. This format is a non-readable, binary format that is much smaller in size and thus loads faster. This drastically reduces the size of the animation file, thereby reducing the time it takes to load the animation in the app.
The Lottie animation store
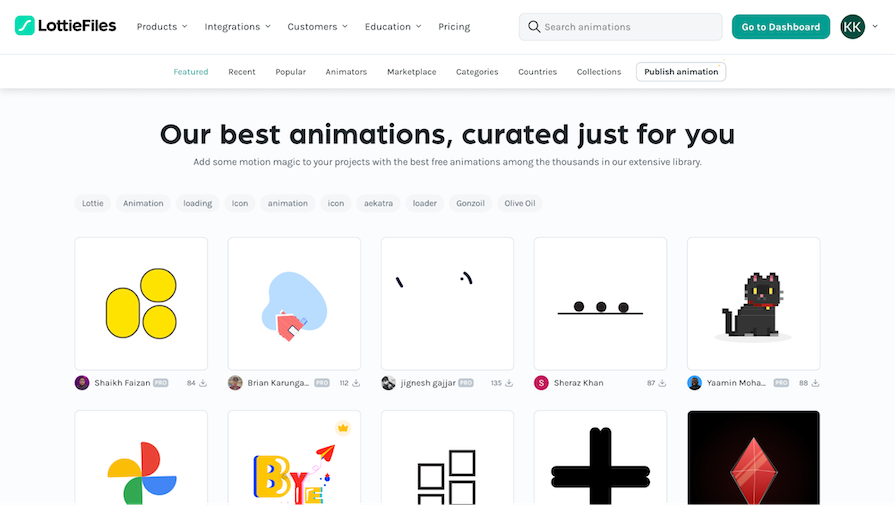
If the animation that we’re looking for is not a custom one, then we can use the Lottie animation store. This is a community-driven platform where designers can upload and share their animations so others can use them in their apps. There are several free animations and we can directly download the JSON file and use it in our app.
For the purpose of this article, we will use a pre-defined loading animation from the library as a splash screen for our app:
We will export a JSON format of this animation that is available for free. There are also premium, optimized download formats available:
The LottieFiles client library
For the scope of this article, we will use React Native and Expo to create a simple app with a splash screen animation. We will use the lottie-react-native library, which provides us with a component that we can use to render the animations in our app using the JSON file that we export. We just need to import the LottieFile renderer that it provides and supply the JSON file exported from the Lottie Creator saved in our codebase:
import LottieView from 'lottie-react-native';
export default function Animation() {
  return (
    <LottieView source={require('../src/static/animation.json')} />
  );
}
Demo animation using LottieFiles
Now that we have an understanding of the basics of this tutorial, let’s move on to building our React Native app with a splash screen animation using the LottieFiles library. The code for this project can be found in this GitHub repository.
Setting up the React Native app
We will be using Expo to create a new React Native app. Here’s the command we need to run:
npx create-expo-app lottie-splash --template blank
The script will ask to install the required dependencies and also ask for a new name for the app. Once these details are supplied, the app is created. I’ve used the name lottie-splash for the app. We can navigate to the app directory and start the development server:
cd lottie-splash
npm start
Once the dev server starts, we can press a to run the app on the Android emulator and i to run the app on the iPhone simulator. If the iPhone simulator does not open up, then you need to install/update to the latest version of Xcode from the app store and then try to run the app again.
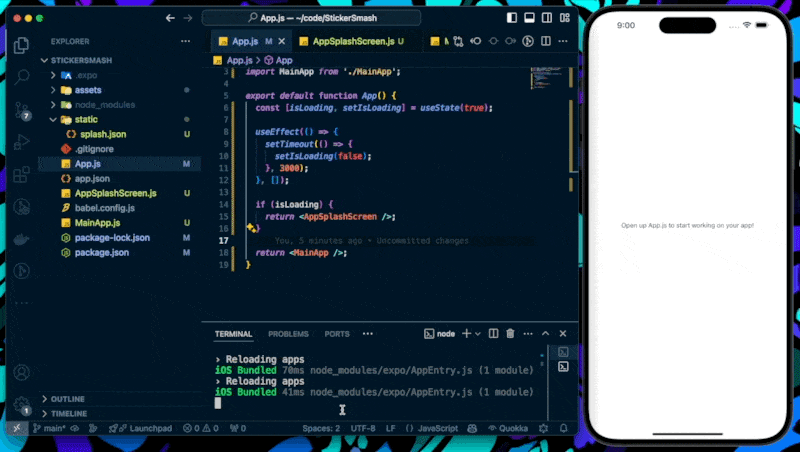
On successfully running the app in the simulator, we should see a screen that looks like this:
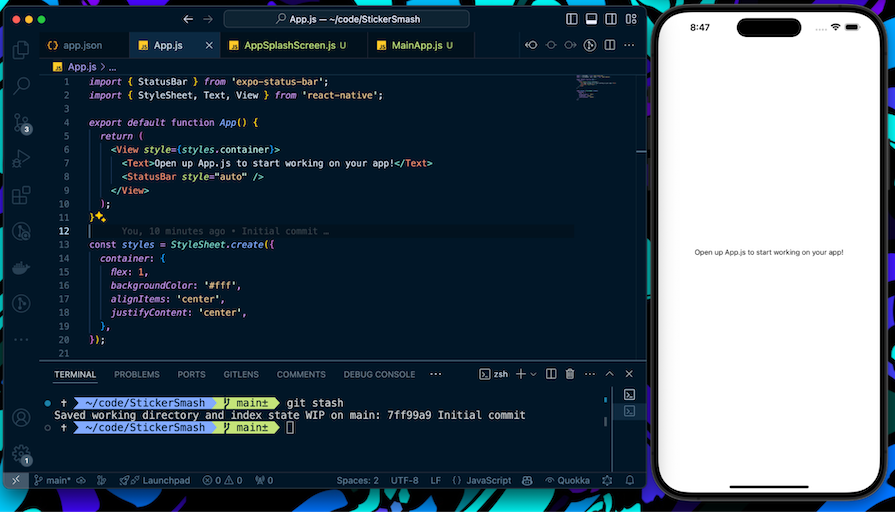
It displays the default Expo app’s starter screen. We don’t need to worry about this because we will create a new splash screen animation that will appear before this screen.
Installing dependencies and setting up the animation
Now, we need to install the lottie-react-native library. We can do this by running the following command:
expo install lottie-react-native
Next, create a new directory called static in the root directory. This is where we will be storing the exported JSON file. Name the JSON file that we downloaded splash.json and place it in the static directory.
Next, create an AppSplashScreen.js file and add the following code to load the animation:
import React, { useEffect, useRef } from 'react';
import { View, StyleSheet } from 'react-native';
import LottieView from 'lottie-react-native';
const AnimatedSplashScreen = ({ onAnimationFinish }) => {
  const animation = useRef(null);
  useEffect(() => {
    animation.current?.play();
  }, []);
  return (
    <View style={styles.container}>
      <LottieView
        ref={animation}
        source={require('./static/splash.json')}
        autoPlay={false}
        loop={false}
        onAnimationFinish={onAnimationFinish}
        style={styles.animation}
      />
    </View>
  );
};
const styles = StyleSheet.create({
  container: {
    flex: 1,
    justifyContent: 'center',
    alignItems: 'center',
    backgroundColor: '#ffffff',
  },
  animation: {
    width: 200,
    height: 200,
  },
});
export default AnimatedSplashScreen;
In this code, we wrapped the LottieView component inside our wrapper React component. We set the inner component to be centered in the wrapper. We trigger a play on the animation on the first component load using the useEffect Hook, and we’ve also set the autoplay and loop properties of the animation to false.
Linking everything together
Now that we have all the files required, let’s link everything together.
Move everything in the App.js file into a new file called MainApp.js. Then, add this code to the App.js file:
import React, { useState, useEffect } from 'react';
import AppSplashScreen from './AppSplashScreen';
import MainApp from './MainApp';
export default function App() {
  const [isLoading, setIsLoading] = useState(true);
  useEffect(() => {
    setTimeout(() => {
      setIsLoading(false);
    }, 3000);
  }, []);
  if (isLoading) {
    return <AppSplashScreen />;
  }
  return <MainApp />;
}
In the above code, we are using a delay of 3000 ms, or three seconds, to simulate a delay in loading the app. We can also replace this with code that is responsible for fetching critical assets like fonts or APIs.
When the app is loaded, we still see that the default splash screen comes up for a millisecond. To get rid of it, we can replace the splash.png in the assets folder with a transparent image. This way, the default splash screen will not be visible for a split second before the custom animation loads.
Once all of this is in place, we can reload the app and see the splash screen animation in action:
This is everything that is required to replace the splash screen with a custom one. After that, the app’s other screens can be developed as required.
Implementing animations besides splash screens
In our example, we modified a default splash screen to show a custom animation. But the LottieFiles library is not limited to just splash screens. We can use the same process to show animations in other parts of the app, too. We just need to save the animation JSON file in the static directory and then use the LottieView component to render the animation.
Let’s assume that we want to display a custom animation when the user reaches a particular milestone. Let’s download a matching animation from the LottieFiles library and use it on the main app screen.
We will use this animation:

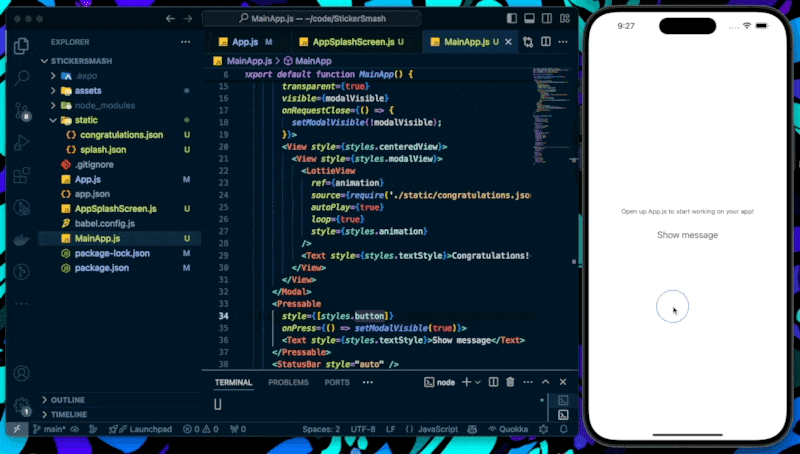
We will download the animation JSON and save it in the static folder as congratulations.json. Next, we will modify the MainApp.js file to include this animation in a modal that shows up when a button is pressed.
We also create a state variable called modalVisible to keep track of when the modal should be visible:
export default function MainApp() {
  const [modalVisible, setModalVisible] = useState(false);
  const animation = useRef(null);
  return (
    <View style={styles.container}>
      <Text>Open up App.js to start working on your app!</Text>
      <Modal
        transparent={true}
        visible={modalVisible}
        onRequestClose={() => {
          setModalVisible(!modalVisible);
        }}>
        <View style={styles.centeredView}>
          <View style={styles.modalView}>
            <LottieView
              ref={animation}
              source={require('./static/congratulations.json')}
              autoPlay={true}
              loop={true}
              style={styles.animation}
            />
            <Text style={styles.textStyle}>Congratulations!</Text>
          </View>
        </View>
      </Modal>
      <Pressable
        style={[styles.button]}
        onPress={() => setModalVisible(true)}>
        <Text style={styles.textStyle}>Show message</Text>
      </Pressable>
      <StatusBar style="auto" />
    </View>
  );
}
Notice that the source is now pointing to the congratulations.json animation file. This time, we have configured the animation to autoplay as well as loop by supplying both values as true.
After making these code changes and reloading the app, this is what it looks like:
And there we have it! An app with custom animations in the splash screen as well as in response to user actions.
Conclusion
In this article, we learned about the importance of animations in an app and how LottieFiles simplifies the process of creating and implementing animations. We also learned about the Lottie Creator, the JSON format, the dotLottie format, and integrating working animations in a React Native app.
It’s great to see how LottieFiles simplifies the process of embedding custom animations into our app. The designer gets full freedom to design in an interface they are familiar with and the developer can then build on top of that design without having to start from scratch. This way, the entire process is streamlined and the app gets a more polished look.