Astro, renowned for its developer-friendly experience and focus on performance, has recently released a new version, 4.10. This version introduces two powerful features that will further streamline your development workflow and expand what you can do with Astro:
- The experimental
astro:envmodule — A more intuitive approach to managing environment variables in Astro projects - An enhanced Container API — A bridge for seamless integration of Astro components with other frameworks

Let’s use practical examples to learn these new features and understand how they can improve your Astro development, and by extension, web development skills.
Simplifying environment variables with astro:env
One may wonder, why are they improving environment variables? Why do they matter?
Well, environment variables are a key component for any website or app. They let us adjust how things work based on the environment where the project is running – be it on a local machine during development, a staging server for testing, or in production for public use.
Before the release of 4.10, developers faced several challenges when managing environment variables in Astro, some of which were the following:
- Determining which variables were needed client-side versus server-side and maintaining a good separation of concern
- Ensuring sensitive credentials remain secret in all contexts and stays hidden from clients
- Preventing secrets from being embedded in final build files
The new experimental astro:env module addresses these issues. It simplifies the management of complex environment variable configurations using a schema object defined in your Astro configuration file. Key benefits of this approach include:
- Type safety — this helps to reduce errors by enforcing proper variable types
- Client/server separation — clearly distinguishes between client and server variables
- Secret protection — ensures sensitive information remains secure throughout the app
With this understanding of the astro:env module and the challenges it solves, let’s discuss how to use it in practice.
How to set up and use the astro:env variables
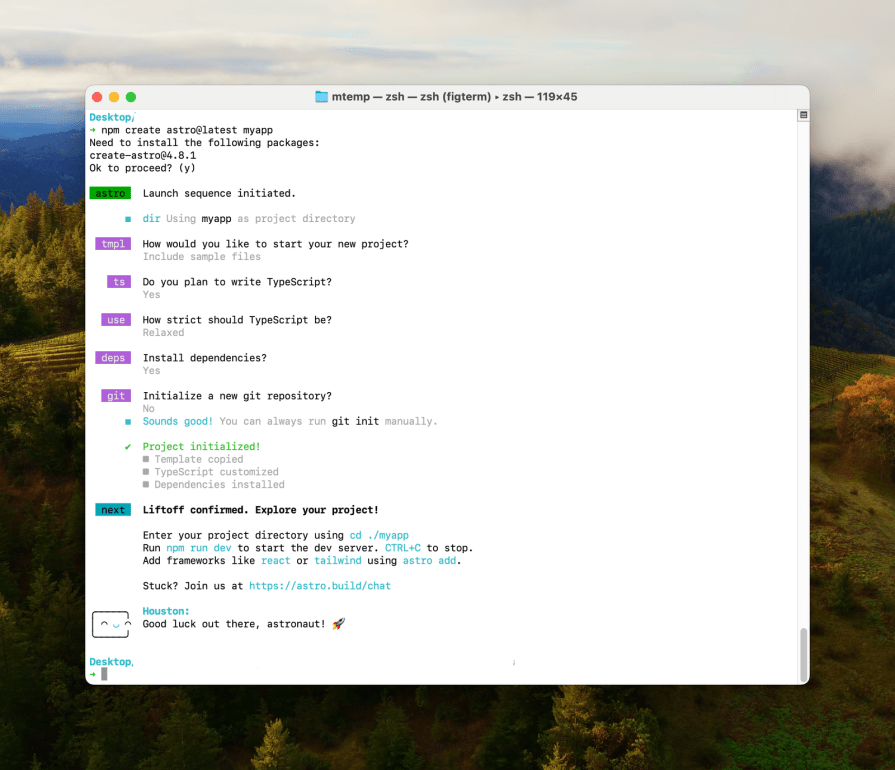
To get started with astro:env, first create a new Astro project by running the command below and following the prompts to create a new Astro project:
npm create astro@latest myapp
When the project is successfully created, navigate into the root folder of the project:
cd myapp
Open the Astro configuration file and update it with this snippet:
# astro.config.mjs
import { defineConfig, envField } from "astro/config";
export default defineConfig({
  experimental: {
    env: {
      schema: {
        API_URI: envField.string({
          context: "server",
          access: "secret",
          default: "https://fakestoreapi.com/products",
        }),
        USER_NAME: envField.string({
          context: "client",
          access: "public",
          default: "Melvin",
        }),
      },
    },
  },
});
In this example, we’ve created two environment variables:
API_URL– a server-side variable (often used for secrets like API keys)USER_NAME– a client-side variable
To use these variables in the project, open the src/pages/index.astro file and update it with this snippet:
# src/pages/index.astro
---
import { USER_NAME } from 'astro:env/client';
import {API_URI } from 'astro:env/server';
await fetch(`${API_URI}`).then(res=>res.json()).then(json=>console.log(json))
---
<html>
  <body>
    <h1>{USER_NAME}</h1>
  </body>
</html>
<style>
  h1 {
    color: orange;
  }
</style>
In the example above:
The API_URI environment variable is a server-side variable used to construct the URL for fetching data. Server side variables are suitable for sensitive credentials that you do not want to expose to the client, this could be API keys, secrets, authentication cookies and so on. The USER_NAME is a client-side variable that can be accessed by client components.
This approach neatly separates client and server logic, enhances code organization, security, and maintainability.
Using astro:env to control builds for different environments
This is another area where great environment variable management experience is beneficial to developers.
Environment variables are crucial for adapting applications to different contexts (development, staging, production) and we can leverage the new astro:env module to further optimize this experience. Astro loads these variables in a specific order:
- System environment variables
.envfile in the project root- Environment-specific
.envfiles (e.g.,.env.development,.env.production)
Later files override values defined in earlier ones. Here’s an example configuration:
import { defineConfig, envField } from 'astro/config';
export default defineConfig({
  experimental: {
    env: {
      schema: {
        API_URL: envField.string({
          default: 'http://localhost:3000/api', // Development default
          context: 'server',
        }),
        NODE_ENV: envField.string({
          default: 'development',
          context: 'client',
        }),
      },
    },
  },
});
In this example, the API_URL will default to http://localhost:3000/api if no other environment variable is set. However, if we have a .env.production file that defines an API_URL variable, it will take precedence when deployed to a production environment:
API_URL=https://our-production-api.com
The NODE_ENV variable is accessible on the client-side and can be used to conditionally render different UI elements based on the environment. For instance, if we have a .env.development file in the root of our project that defines a ASTRO_APP_ENVIRONMENT variable, we can use process.env.ASTRO_APP_ENVIRONMENT to access its value and conditionally update the UI based on that value.
function MyComponent() {
  const environment = process.env.REACT_APP_ENVIRONMENT;
  return (
    <div>
      {environment === "development" ? (
        <div>This is the development environment</div>
      ) : (
        <div>This is the production environment</div>
      )}
    </div>
  );
}
export default MyComponent;
Another very important area where the astro:env module can help improve developer experience is in CI/CD workflows. Let’s explore what is possible there:
- CI/CD pipelines can set environment specific variables for different stages (e.g.,
CI=true,DEPLOYMENT_ENV=production) - Sensitive information can be securely stored and accessed within Astro
- Different build artifacts can be generated based on environment variables
Limitations of astro:env (as of Astro 4.10)
The major concern for using the astro:env module is that it is still an experimental feature in Astro 4.10, so it might change in future releases. Keep an eye on the official documentation for updates.
The Astro Container API: a bridge to other frameworks
The Astro Container API is the second important feature that shipped in v4.10 to allow developers to use Astro components outside of an Astro project.
The core idea of the Container API is to be able to embed your Astro components in other frameworks. This is a huge one because it opens up a whole new world of possibilities.
According to the Astro documentation, with the Astro Container API, you can leverage Astro’s strengths alongside your preferred framework’s features.
However, if you have an existing project built with another framework and would like to take advantage of this feature, you can start using Astro components gradually without rewriting your entire codebase.
How The Astro Container API works in practice
The process of using the Container API involves two main steps:
- Use
astro:buildto compile Astro components into standalone, self-contained bundles - Import and use the component within a non-Astro project, with Astro handling client-side hydration
Practical example: integrating Astro with Express
To illustrate the Astro Container API’s capabilities, we’ll embed an Astro component within an Express application using EJS templating.
Despite the documentation suggesting broad compatibility, and my efforts trying to implement this demo in frontend frameworks like React and Vue, concrete examples and practical implementations for these frameworks remain scarce.
I believe that the fundamental differences in component lifecycle management, rendering mechanisms, build processes between Astro and these frameworks, and their inability to directly handle .astro files directly hinder the integration.
Hence, we’ll demonstrate the Astro Container API’s functionality within an Express environment.
First Initialize a new npm project and install dependencies:
npm init -y
npm install astro express ejs
npm install -D nodemon
Next, create an Astro component (src/components/MyComponent.astro):
---
---
<h1>Hello from Astro component</h1>
The above snippet will render an h1 with the text “Hello from Astro component”. Next, create a pages directory inside the src folder and create an index.astro file with the following snippets:
<html>
  <head></head>
  <body></body>
</html>
To render or use the Astro component outside an Astro site, we first need to export it as a default export from the declaration file. Create an all.js file inside the src directory with the following snippet:
export { default as MyComponent } from "./components/MyComponent.astro";
The next thing we need to do is to create an Astro adapter using a JavaScript function. Astro adapters allow customization of the build process and integration with different bundlers or frameworks.
In the root directory of our project, let’s create an adapter/ folder and create an index.mjs file inside it with the below snippet:
// Adapter/index.mjs
export default function () {
  return {
    name: "myadapter",
    hooks: {
      "astro:config:done": ({ setAdapter }) => {
        setAdapter({
          name: "myadapter",
          serverEntrypoint: new URL("./server-entrypoint.mjs", import.meta.url)
            .pathname,
          supportedAstroFeatures: {
            serverOutput: "stable",
          },
          exports: ["manifest"],
        });
      },
      "astro:build:setup": ({ vite, target }) => {
        if (target === "server") {
          vite.build.rollupOptions.input.push("src/all.js");
        }
      },
    },
  };
}
In the snippet above, we defined the adapter configuration and customized the build process with Hooks. Let’s break it down further:
- We exported a default function that acts as the core of the adapter. This function essentially creates a configuration object for Astro to understand
- Inside the function, an object is returned with two properties:
nameandhooks - The
nameproperty assigns a unique name (myadapterin this case) to our custom adapter. Astro will use this name to identify it during the build process - The
hooksproperty is where the magic happens. It’s an object containing functions that tap into specific events during Astro’s build process. These functions allow us to inject our custom logic and modify the build behavior based on the adapter’s needs
Next, create the entry point file server-entrypoint.mjs within the adapter folder. Add the following code to it:
//adapter/server-entrypoint.mjs
export function createExports(manifest) {
  return { manifest };
}
Here, the creatExports() function is called by the Astro adapter to generate the final build output.
More great articles from LogRocket:
- Don't miss a moment with The Replay, a curated newsletter from LogRocket
- Learn how LogRocket's Galileo cuts through the noise to proactively resolve issues in your app
- Use React's useEffect to optimize your application's performance
- Switch between multiple versions of Node
- Discover how to use the React children prop with TypeScript
- Explore creating a custom mouse cursor with CSS
- Advisory boards aren’t just for executives. Join LogRocket’s Content Advisory Board. You’ll help inform the type of content we create and get access to exclusive meetups, social accreditation, and swag.
The manifest object is essential for the adapter to understand the structure of the application and generate appropriate files or assets.
The manifest object contains information about components, routes, and data dependencies, which is crucial for generating SSR-compatible output.
Now that we’ve defined our custom adapter, the next step is to incorporate it into the Astro build process.
To achieve this, create an astro.config.mjs file within the project’s root directory with the following snippets:
//astro.config.mjs
import { defineConfig } from "astro/config";
import adapter from "./adapter/index.mjs";
export default defineConfig({
  output: "server",
  adapter: adapter(),
  integrations: [],
});
Here, we imported the defineConfig function from the astro/config package and also imported the adapter function from index.mjs in the adapter directory.
Next, we setup the defineConfig function. The value of the output property is set to “server”, indicating that Astro should generate a server-side rendered application. The most crucial part is the adapter property, which is assigned the result of calling the imported adapter function.
The integrations property is an array that can be used to include additional plugins or integrations, but in this case, it’s left empty as we are not using any plugins.
Having established our Astro component and its dependencies, we can now proceed to the build process. Modify the script commands within the package.json file as follows:
//package.json
 "scripts": {
    "build": "astro build",
    "serve": "nodemon server.mjs"
  }
Next, initiate the build process by running npm run build in your terminal. Following a successful build, we will integrate the Astro component into an Express application by leveraging EJS templating.
Set up the Express server (server.mjs)
The serve script in our package.json file currently references a non-existent file. To address this, create server.mjs in the root directory. This is where we’ll implement the Container API to render our Astro component within an Express environment:
//server.mjs
import * as components from "./dist/server/all.mjs";
import { renderers } from "./dist/server/renderers.mjs";
import { manifest } from "./dist/server/entry.mjs";
import { experimental_AstroContainer as AstroContainer } from "astro/container";
import express from "express";
import { fileURLToPath } from "url";
import path, { dirname } from "path";
const __filename = fileURLToPath(import.meta.url);
const __dirname = dirname(__filename);
const container = await AstroContainer.create({
  manifest,
  renderers,
  resolve(s) {
    const found = manifest.entryModules[s];
    if (found) {
      return `/dist/client/${found}`;
    }
    return found;
  },
});
const app = express();
app.set("view engine", "ejs");
app.set("views", path.join(__dirname, "views"));
const port = 5000;
app.get("/", async (req, res) => {
  const html = await container.renderToString(components.MyComponent);
  console.log(html);
  res.render("index", { body: html, title: "Welcome to Astro-in-Express" });
});
app.listen(port, () => {
  console.log(`Server listening on port ${port}`);
});
The snippet above:
- Imports necessary modules from our build directory (
dist/) and sets up the Express app with EJS - Creates an Astro container using the imported manifest, renders, and a custom resolver function. The resolver maps Astro component imports to their corresponding client-side modules
- Defines the
app.get('/')route handler to handle incoming requests to the root path. Within this handler, thecontainer.renderToStringmethod is used to render theMyComponentAstro component to a string. The rendered HTML is then passed to an EJS template namedindex.ejswe are yet to create. Finally, the rendered EJS template is sent as a response to the client
Next, create a views folder in the root directory and create an index.ejs file with the following snippet:
<!DOCTYPE html>
<html>
  <head>
    <title><%= title %></title>
  </head>
  <body class="">
    <%- body %>
  </body>
</html>
Run the npm run serve script in the terminal to start up the server, navigate to http://localhost:5000/ and see the Astro component rendered in your Express site. There, you should now see your fully running Astro project that leverages the new astro:env module and Container API features.
The project has better protection for sensitive credentials on the server and also leverages the Container API to run on an express Environment, which could’ve easily been a React or Vue environment. That is huge!
Conclusion
These new features in Astro 4.10 solve current development challenges and optimize the experiences of developers, but more importantly they hint at an exciting future for web development.
I believe the astro:env module and Container API are only stepping stones towards a more integrated and flexible web development ecosystem. Looking ahead, we might see things like:
- Further cross-framework compatibility where the Container API could pave the way for even more seamless integration between different web technologies
- Simplified developer workflows. As these features mature, we might see new tools and practices emerge that streamline the development process even further, making it easier for developers to create complex, multi-framework applications
- Industry influence to rethink our general approach to handling sensitive credentials. As the
astro:envevolves, it could set new standards for environment variable management across the industry and inspire other frameworks to adopt similar approaches
As web development continues to evolve, Astro is positioning itself at the forefront of innovations. These new features invite developers to experiment and reimagine what’s possible in web development.
Please try it yourself, and share your thoughts on this new direction.