
When you’re building a website, it’s important to make sure that it’s fast. People have little to no patience for slow-loading websites. So as developers, we need to use all the techniques available to us to speed up our site’s performance.
And sometimes, we need to make users think that something is happening when they’re waiting for a page to load so they don’t give up and leave the site.
Fast webpage loading speed is important these days because humans’ attention spans are shrinking. According to statistics on the average human attention span, the average page visit lasts less than a minute, with users often leaving web pages in just 10-20 seconds.
This means that we as developers have had to come up with strategies to keep users engaged while waiting for their requested web page content to load. And this led to the concept of the Skeleton Screen.
In this article, we’ll be looking at what skeleton screens are, how effective they are at enhancing the user experience and build a skeleton screen of our own !.
What is a Skeleton Screen?
A skeleton screen is like a sketch of a webpage that displays before the final page fully loads. It gives you a glimpse of the form and positioning of elements on your screen (like text, images, and buttons) which are represented by a placeholder.
Here is what a YouTube skeleton screen looks like:
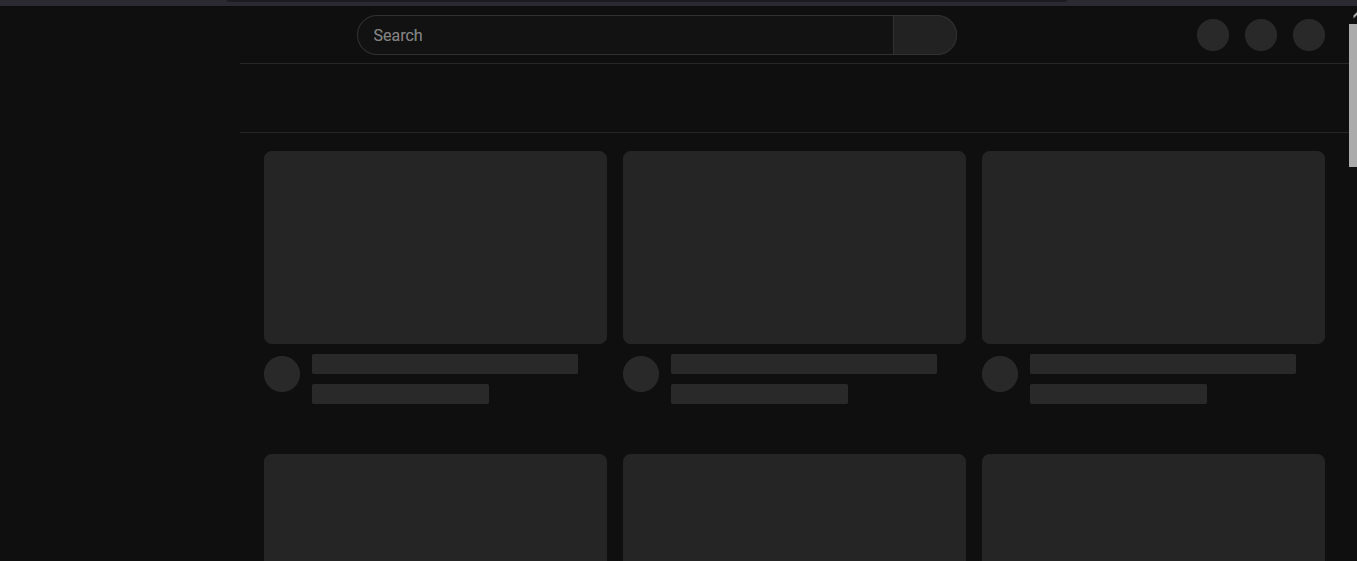
When you visit a website that uses skeleton screens, the skeleton screen appears first while the content is being fetched. When the content finally gets fetched, it gradually replaces the skeleton screen until the screen is fully populated.
That is what brought about the name Skeleton Screen – because the bare bones akin to a skeleton appear first before being fleshed out by real content.
Skeleton screens take the appearance or form of elements they are meant to “stand in place of” – meaning oval-shaped placeholders are replaced by oval-shaped elements on full loading, and so on.
The ultimate goal of the skeletal screen is to make the waiting game less painful by giving users something to focus on. It has nothing to do with actual load time but all to do with providing a distraction so the waiting time feels shorter. It can also reassure users that content is indeed coming. Clever right?
The Psychology Behind Skeleton Screens
Here is where things get interesting. You might already be wondering what the reasoning behind such an invention was.
Based on what we’ve already discussed, you probably agree that they are all about “Perceived Performance”. It’s less about how long users have to wait and more about how long it feels like they’re waiting.
If you’ve ever been stuck in traffic, you’d know there is a difference in feeling when you’re moving forward versus sitting still. Moving traffic, even if it’s slow, is better than being stuck in a total gridlock.
The same applies to a user who’s visiting a webpage. A visible and engaging placeholder is better than being greeted with a blank screen while waiting for the final content to show.
With skeleton screens, it's like “Hey, here is the form of the page content you’re looking for, but please, exercise some patience while we get you the real thing!”
This fits perfectly into the Zeigarnik Effect, a psychological principle suggesting that we remember incomplete tasks better than completed ones. Think of it like leaving a jigsaw puzzle half-finished on your table – your brain stays engaged, eager to see the final picture.
Similarly, when users see a skeleton screen, they remain mentally hooked, anticipating the moment when the content will fully load.
Skeleton Screens vs Spinners and Progress Bars
Spinners and progress bars might seem like a viable alternative to skeleton screens, but do they have the same effect on users? The answer is – not quite.
With spinners and progress bars, the load time is somewhat undecided, and it’s a bit like watching a clock tick – the time seems to move slower, as focusing on the hands of the clock makes the duration seem longer and more frustrating.
Skeleton screens, on the other hand, add an interesting extra layer of providing a visual cue of expected content rather than just displaying an indicator (which is what spinners and progress bars do).
Interfaces that use skeleton screens make the user scan the screen thinking things like, “That rectangle must be an image or video, and these blocks look like they are for text”. They don’t leave users idle but keep their brains and eyes engaged.
Is a Skeleton Screen Just a Visual Illusion?
Yes, skeleton screens are a bit of an illusion. They don’t speed up load times – rather, they just make it feel faster.
But here’s the thing: if not done well, this trick can backfire. Users expect that once they see the skeleton screen, the real content should follow quickly. If not frustration creeps in.
Also, adding motion to skeleton screens makes the illusion effect more effective by decreasing the perceived duration time. It is not uncommon to see sliding effects (left to right) and pulse effects (fading opacity – in and out) used in skeleton screens.

Finally, for best results, skeleton screens should be neutral in color. This is important as it helps to create a smooth and subtle loading experience without distracting or overwhelming users.
How to Build a Skeleton Screen with React
Now that you know what a skeleton screen is all about, let’s build our own using React.
Step 1: Set up Your React Project
If you’re new to React and wish to follow along, click this link and follow the steps to create your React project. When you’re done, come back here and let’s continue building.
If you already have a React project you want to use, that’s great, too.
Step 2: Install react-loading-skeleton Package
Next, we’ll install a package called react-loading-skeleton that helps in creating beautiful and animated skeletons. To install this package:
Navigate to your project on your terminal.
If you’re using yarn, type this command
yarn add react-loading-skeletonornpm install react-loading-skeletonfor npm users.
Step 3: How to Handle States and Skeleton Imports
There are variables that will be changing frequently in our project, and they need to be declared. You can read my article on state management if you are not familiar with the concept.
  import { useState } from 'react';
  import Skeleton from 'react-loading-skeleton';
  import 'react-loading-skeleton/dist/skeleton.css';
  const SkeletonScreenComponent = () => {
    const [data, setData] = useState([]);
    const [loading, setLoading] = useState(true);
    const [error, setError] = useState(null);
  }
  export default SkeletonScreenComponent;
In this code, we declared three states in our SkeletonScreenComponent which are:
data: responsible for storing the data fetched from a fake REST API with its initial value set to an empty array.
loading: to keep track of data loading with its initial value set to a Boolean value of true.
error: to store any error message with initial value set to null.
We also imported the useState hook for the states together with the Skeleton component and its CSS from the react-loading-skeleton library.
Step 4: Fetch Data from the Fake API
Our little project will be fetching data from https://jsonplaceholder.typicode.com/posts, which is a free online fake REST API.
  useEffect(() => {
    fetchData();
  }, []);
  const fetchData = async () => {
    try {
        const response = await fetch('https://jsonplaceholder.typicode.com/posts');
        if (!response.ok) {
          throw new Error('Network response was not ok');
        }
        const result = await response.json();
        setData(result);
        setLoading(false);
    } catch (err) {
      setError('Error fetching data'+ err.message);
      setLoading(false);
    }
  };
In the code block above:
The useEffect hook is responsible for handling side effects. It’s perfect for data fetching purposes, and has its dependency array set to empty (makes it render on mount).
fetchData is an asynchronous function that fetches data from the URL, updates the data state, sets loading state to false when done, catches any errors, and updates the error state.
Step 5: Conditional Rendering
The whole idea of this project revolves around the loading state. The component renders different content based on the loading state.
If loading is true:
An Array is created where each element is a Skeleton component.
The Skeleton count is set to 2, for the post title and body. You can set the count according to the number of placeholders you want to display.
If data loading is successful:
It maps through the data array.
It renders each post’s title and body.
If there is an error, an error message is displayed.
   if (loading) {
    return (
      <div>
        {Array.from({ length: 15 },(_, index) => (
          <div key={index} style={{  marginTop: '30px'  }}>
            <Skeleton count={2} style={{marginBottom:"5px"}} />
          </div>
        ))}
      </div>
    );
  }
  if (error) {
    return <div>{error}</div>;
  }
  return (
    <div>
      {data.map(({id, title, body}) => (
        <div key={id} style={{ marginBottom: '20px' }}>
          <h3>{title}</h3>
          <p>{body}</p>
        </div>
      ))}
    </div>
  );
Final Result
This is what our Skeleton screen looks like:
Conclusion
Skeleton screens are great at creating the illusion of progress and making users feel like the site is loading faster. But they don’t fix slow-loading pages on their own. The trick is combining skeleton screens with performance-enhancing techniques such as lazy loading, image compression, and server-side rendering.
Balancing the actual speed and the user’s perception of it is vital in web performance. Skeleton screens are just one tool in your UX toolbox – but when used correctly, they can help create a web experience that feels fast, reliable, and most importantly engaging. And in the world of web development, where perception is reality, that’s half the battle won.
For more front-end related posts and articles, you can follow me on LinkedIn and X.
See you on the next one!